
How to Use a Chi Machine Correctly: A Step-by-Step Guide for Beginners
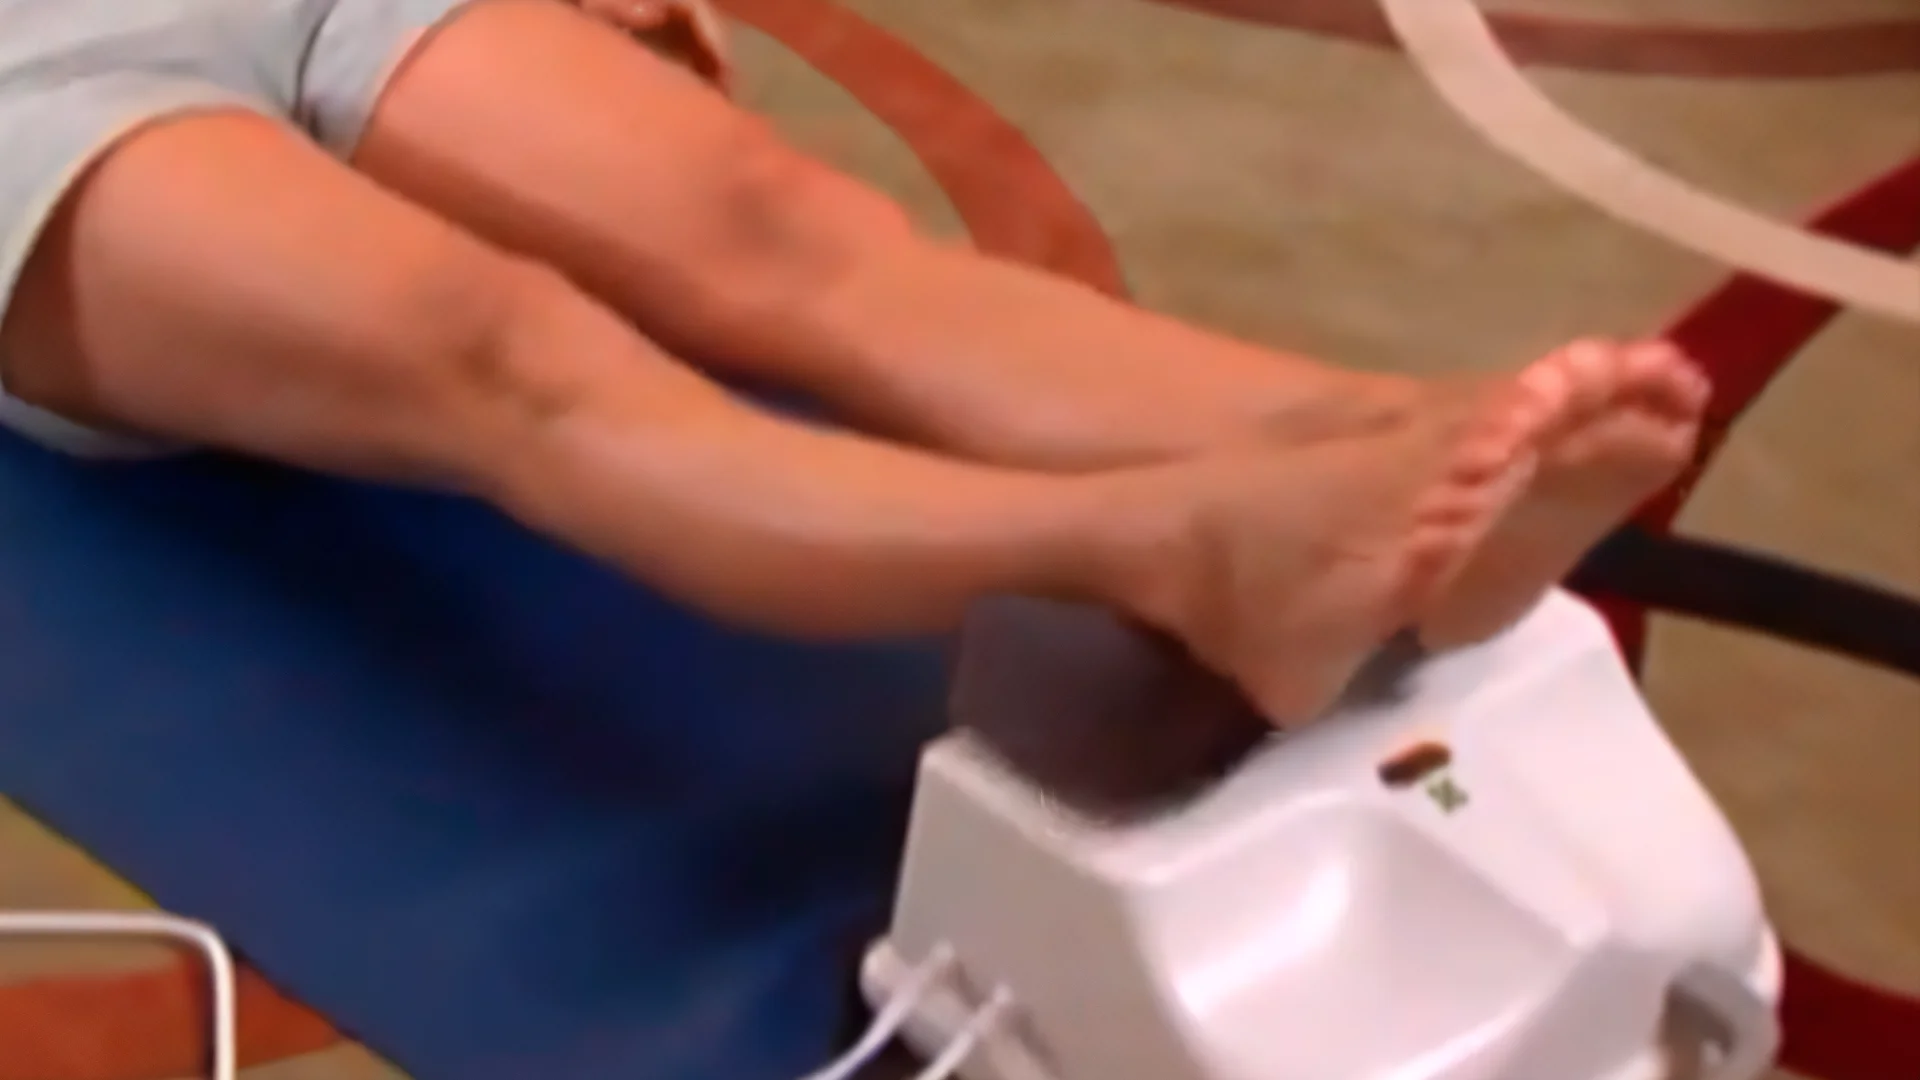
- Lie flat on your back with your ankles centered on the cradle, roughly 1–2 inches past the ankle bone, so your feet can swing freely.
- First-time sessions should run 2–3 minutes, not the full 15-minute range some manufacturers advertise for experienced users.
- Stay relaxed and let the machine move your hips and spine — pushing or tensing against the motion works against the device, not with it.
- People with back conditions, nerve issues, pacemakers, recent surgery, or fractures should get medical clearance before trying it.
- The oscillation itself is well-documented; claims about circulation, detox, or pain relief remain marketing language, not settled clinical findings.
Using a chi machine correctly comes down to three things: how you position your ankles on the cradle, how long you let it run, and how relaxed you stay while it moves you. Most of the discomfort or disappointment beginners report — sore hips, a jerky feeling, or “nothing happening” — traces back to one of those three getting skipped. The steps below walk through positioning, timing, and posture the way the machine’s own instruction manuals describe them, plus the safety checks that matter most for anyone with a back, nerve, or cardiac condition. None of this requires prior experience with the device.
Set Up the Machine and Yourself First
Before lying down, place the chi machine on a firm, level surface — carpet over concrete or hardwood works better than a soft mattress or thick rug, since a surface that gives will absorb some of the oscillation instead of transferring it to your body. Leave a few inches of clearance underneath and around the unit; most models draw or push air as part of the motor mechanism, and blocking that space can affect performance over time.
Position yourself so the handle or control end faces away from your feet, and take a moment to stretch your lower back before lying down — a light knee-to-chest stretch or a few cat-cow movements is enough. If you have existing low back or knee discomfort, slide a pillow under your knees before you start; this reduces strain until your body gets used to the side-to-side motion, and many long-time users keep the pillow permanently rather than treating it as a temporary crutch.
Drink a small glass of water beforehand. This is a common instruction across manufacturer guides, though it’s presented as a general comfort habit rather than something with a documented physiological effect specific to the machine. Avoid using it within 30 minutes of a full meal, since the oscillation can be uncomfortable on a full stomach.
Ankle and Leg Placement
This is the step beginners get wrong most often, and it’s also the one that most affects whether the session feels smooth or jarring. Lie on your back and center your body with the alignment mark or arrow printed on most cradles, with one leg on each side. Rest the back of your calf on the cradle so that your ankle bone sits about 1 to 2 inches past the edge — not directly on it. This gap matters because it lets your foot pivot and swing rather than getting caught against the cradle’s edge on every pass.
Keep your legs relatively straight rather than bent at the knee; bent knees dampen the motion before it can travel up through your hips and spine, which is the point of the whole exercise. If your calves or ankles feel pinched or the motion feels choppy rather than fluid, the most likely cause is that your legs are positioned too far onto the cradle or too far off it — a small adjustment of half an inch either way usually fixes it.
Choosing an Arm Position
Once your legs are set, you have a few options for your arms, and different manuals associate each with different marketed effects — worth treating as anecdotal framing rather than established outcomes:
- Stretched-back position: both arms extended above your head, kept as straight as comfortable. Marketed toward shoulder tension and upper-body stretch.
- Mid position: hands tucked under your head, which slightly lifts your upper body and legs off the floor. Marketed as a variation for spinal alignment.
- Goldfish position: arms resting flat at your sides, the most commonly recommended starting posture for beginners because it requires the least effort to hold still.
For a first session, the goldfish position (arms at your sides) is the easiest to stay relaxed in, since holding your arms overhead for several minutes can itself become tiring and distract from settling into the motion.
Starting Speed and Session Length
Turn the machine on at its lowest speed setting if it has variable speed, and only increase it once you can feel the oscillation moving your whole body — hips, torso, and up toward the shoulders — rather than just your ankles. A speed that only moves your feet isn’t doing much beyond a foot massage; one that makes your whole body sway gently is closer to the intended effect.
For timing, first-time users should keep sessions to 2–3 minutes, and even shorter — under a minute — if you’re in generally poor health or recovering from an illness. This is consistently the range recommended across manufacturer instructions, rather than the 15-minute sessions sometimes cited for experienced long-term users. Increase in small increments, roughly 2 minutes at a time, only once your body has adjusted and the motion feels comfortable rather than jarring. There’s no evidence that jumping straight to a longer session produces faster or better results — it mainly increases the odds of soreness that puts people off using the machine again.
Breathing and Staying Relaxed
The most counterintuitive instruction for beginners is to do less, not more. Actively tensing your legs, core, or arms to “help” the machine move you works against the oscillation and can leave you sore afterward in a way that has nothing to do with the device’s intended motion. Let your body go slack and allow the cradle to carry the movement upward.
Some instructions suggest a simple breathing pattern during the session — inhaling for a slow count, briefly holding, then exhaling longer than the inhale — framed as a way to stay relaxed rather than as a technique with a specific physiological claim attached to it. The exact count matters less than keeping your breathing slow and even instead of holding your breath, which is a common reflex the first time the motion feels unfamiliar.
Ending the Session Properly
When the timer stops the machine, don’t sit up immediately. Stay on the floor for 1 to 3 minutes first; many users describe a brief tingling or warm sensation spreading through the body right after the machine stops, though this is a subjective sensory report rather than a measured physiological outcome, and it’s not something everyone experiences. If your feet need to come off the cradle before the machine fully stops, that’s fine to do.
Once you’re ready to get up, gently stretch your spine and hips — a knee hug or a slow twist works — then roll onto your side before pushing yourself upright, rather than sitting straight up from flat on your back. Finish with a full glass of water, mirroring the same pre-session habit.
Mistakes That Reduce Comfort or Results
A handful of habits account for most of the “this doesn’t feel right” complaints from new users. Using the machine on a soft mattress instead of a firm floor dampens the motion. Placing the ankle bone directly on the cradle edge instead of 1–2 inches past it causes pinching. Jumping to a 10-minute session on day one, rather than building up from 2–3 minutes, is the single most common cause of next-day soreness that discourages continued use. Tensing muscles instead of relaxing into the sway blocks the motion from reaching the hips and upper spine, which is where much of the intended full-body effect is supposed to occur.
It’s also worth being skeptical of session claims that promise fast results — improved circulation, lymphatic drainage, or pain relief are frequently mentioned in marketing material for these devices, but there is no strong independent clinical evidence specific to chi machines confirming these outcomes. The oscillation itself is a real, measurable mechanical motion; what it does for the body beyond passive movement and relaxation is still an open question rather than an established fact.
Who Should Check With a Doctor First
A chi machine is not a substitute for medical treatment, and it isn’t appropriate for everyone to try without guidance. Manufacturer instructions consistently advise against use for at least three months following surgery or a bone fracture, during pregnancy, or if you have a serious infection, a bleeding injury, or heart disease. Anyone with a pacemaker, an existing back or nerve condition, or another chronic health issue should get medical clearance before using the device rather than assuming the gentle motion is automatically safe for their situation.
If you experience sharp or worsening pain during a session — as opposed to mild, unfamiliar sensations from a new type of motion — stop and figure out the cause before trying again, rather than pushing through it.
How long should a beginner use a chi machine?
Start with 2–3 minutes for your first few sessions, or under a minute if you’re in poor health. Increase in roughly 2-minute increments only once the motion feels comfortable.
Where exactly should my ankles rest on the cradle?
Rest the back of your calf on the cradle with your ankle bone positioned about 1–2 inches past the edge, not directly on it, so your feet can pivot freely during the motion.
What speed setting should I start at?
Begin at the lowest available speed and increase only until you feel your whole body — not just your feet — moving in the oscillation.
Can I use a chi machine if I have back pain?
Placing a pillow under your knees can ease the position, but if your back pain is due to an existing condition, check with a doctor before using the machine rather than assuming it’s automatically safe.
Should my legs be straight or bent on the cradle?
Keep them relatively straight. Bent knees dampen the motion before it can travel up through the hips and spine.
What arm position is best for a first session?
Resting both arms flat at your sides (sometimes called the goldfish position) is the easiest to hold relaxed for a first-time session.
How often can I use a chi machine in a day?
Manufacturer guides commonly mention twice-daily use as a general benchmark, but there’s no evidence that using it more often speeds up results — build up gradually instead.
Is the tingling feeling after a session normal?
Many users describe a tingling or warm sensation once the machine stops, but this is a subjective report rather than a documented clinical effect, and not experiencing it doesn’t mean the session “didn’t work.”
Sources
- wikiHow — How to Use the Chi Machine
- Sun Ancon Chi Machine — Instructions for Use (PDF)
- Energy Wellness Products — Chi Machine User Guide (PDF)
- Holistic Neuron — Chi Machine
See also